LAB 8
In today’s lab, we will learn how to set up an account and a SQLite database on PythonAnywhere web hosting.
-
Go to the website:
https://www.pythonanywhere.com -
Click on Pricing & Signup at the top.
-
Under Explore with a limited account, click Create a Beginner Account.
-
Fill out the information to create your account.
-
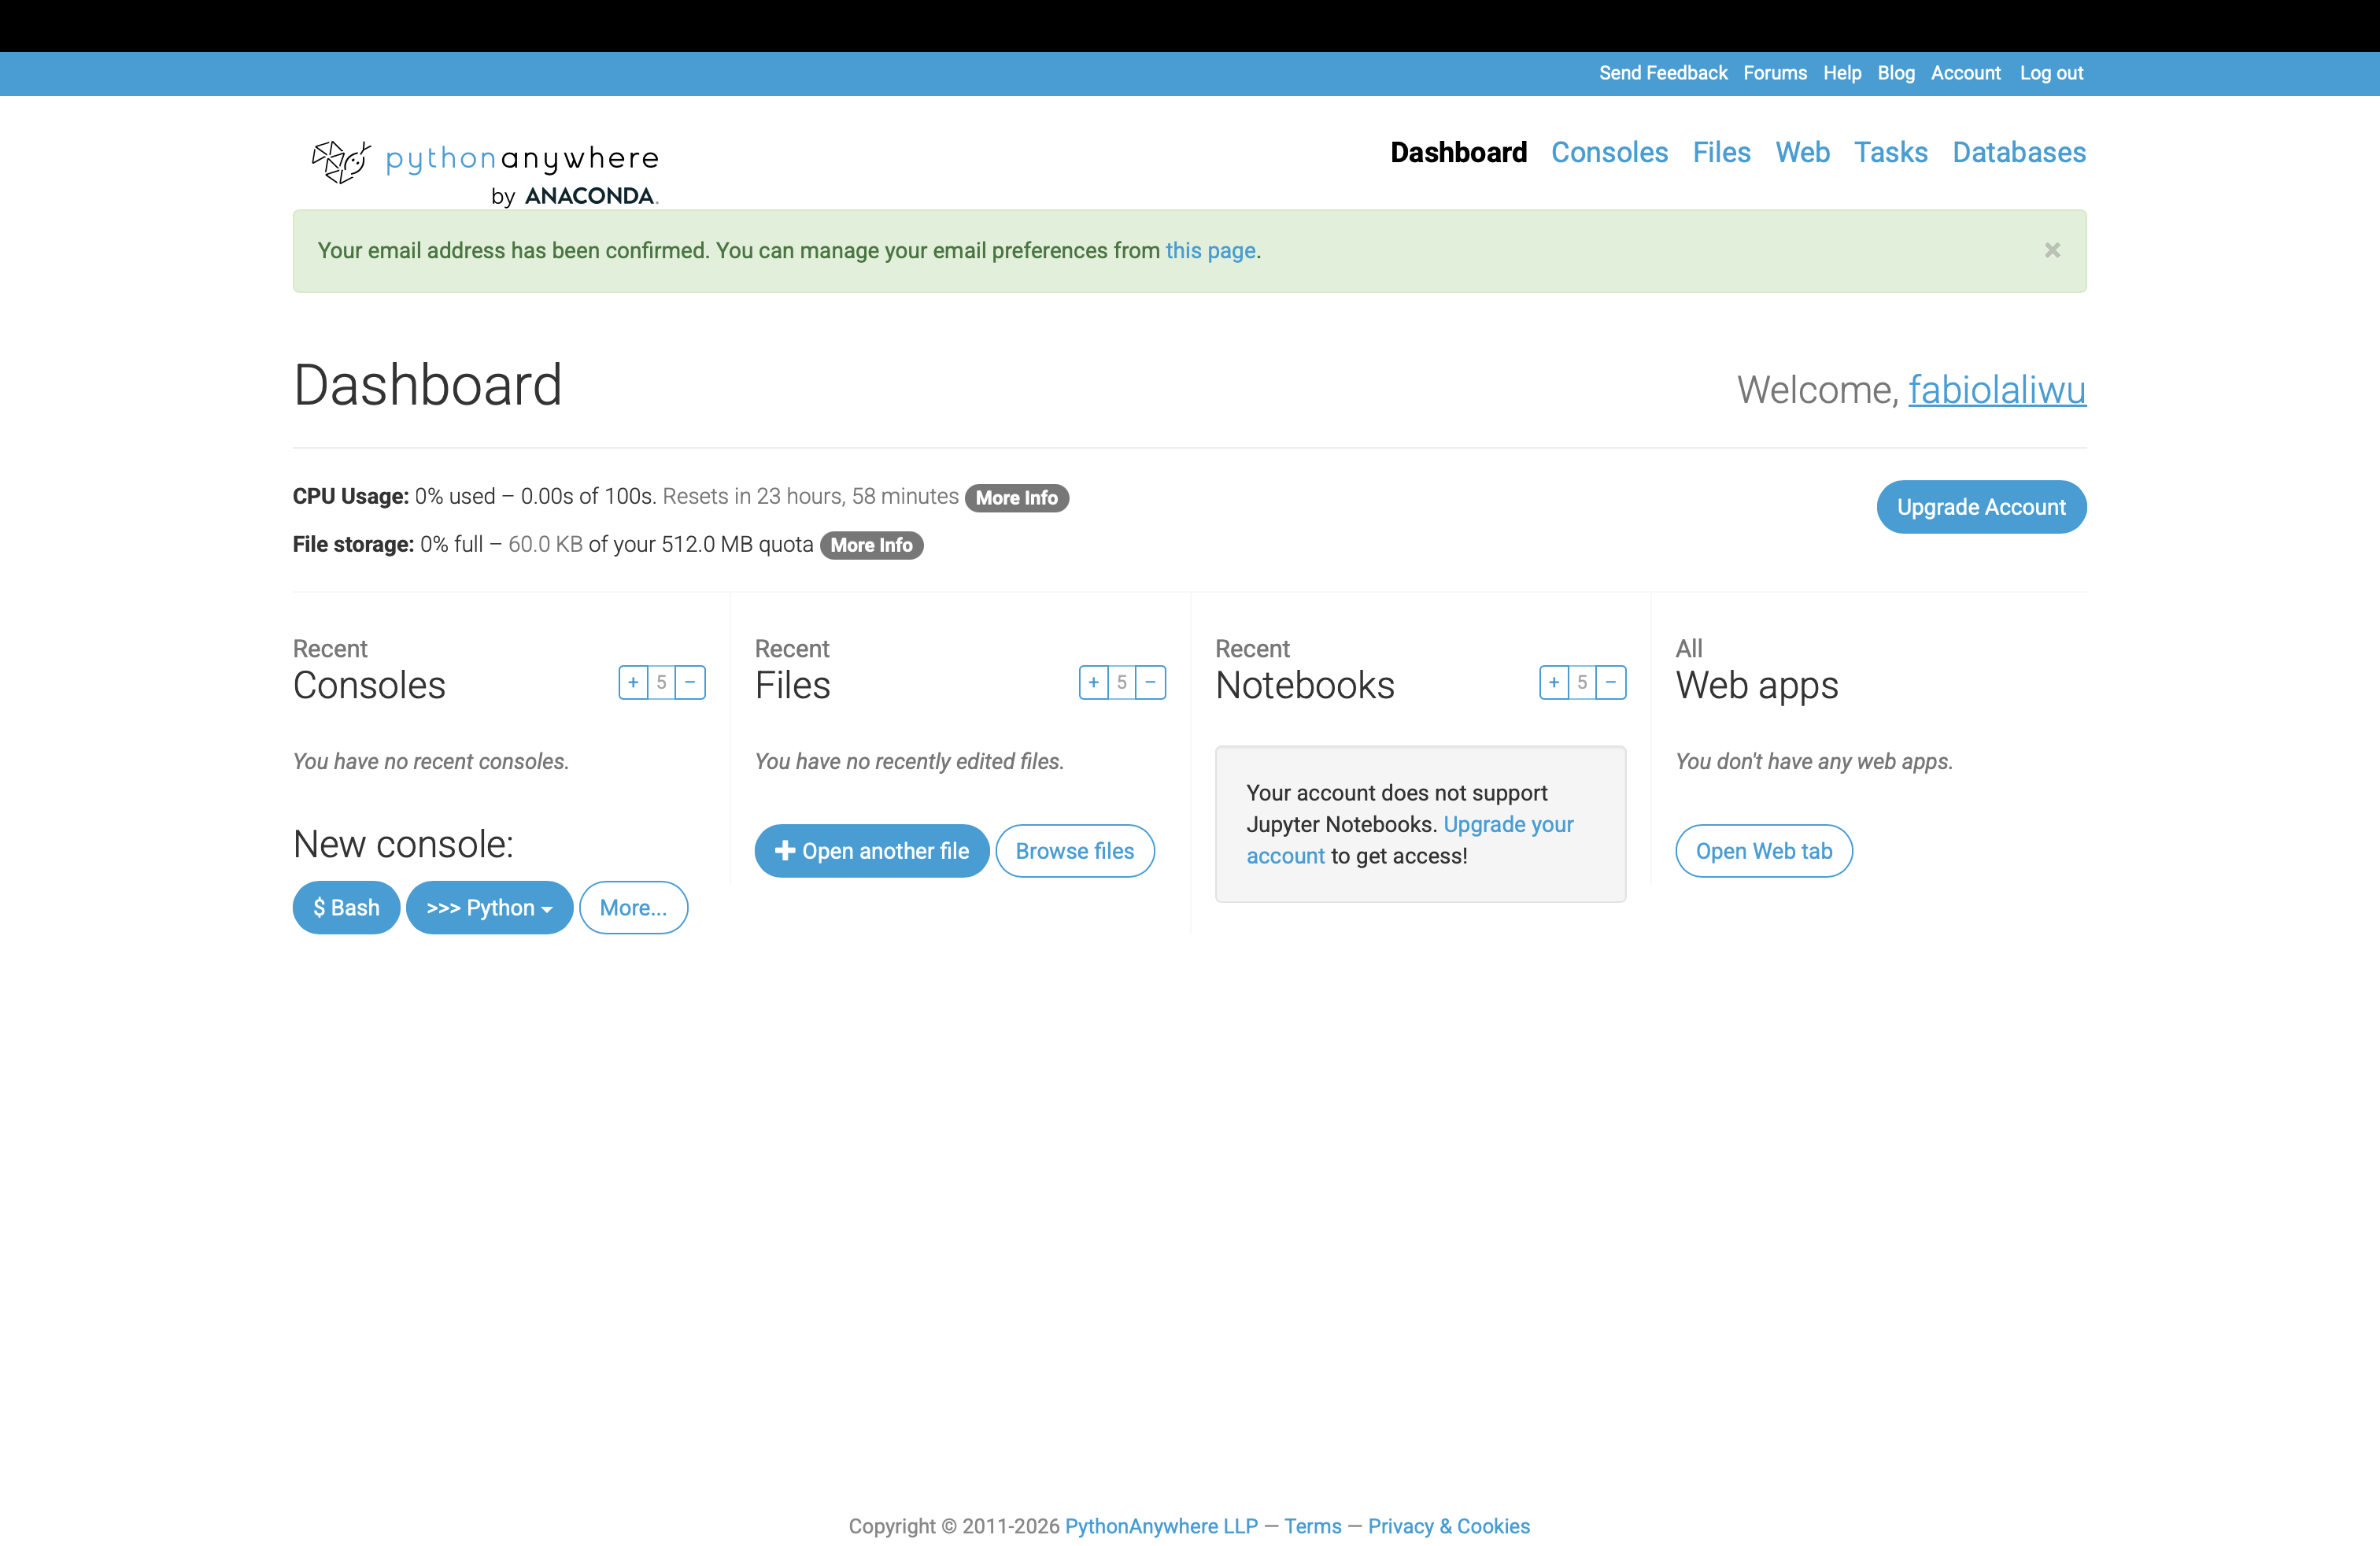
Check your email and confirm your account.
You should now see the following dashboard:
Create Your Flask Web App
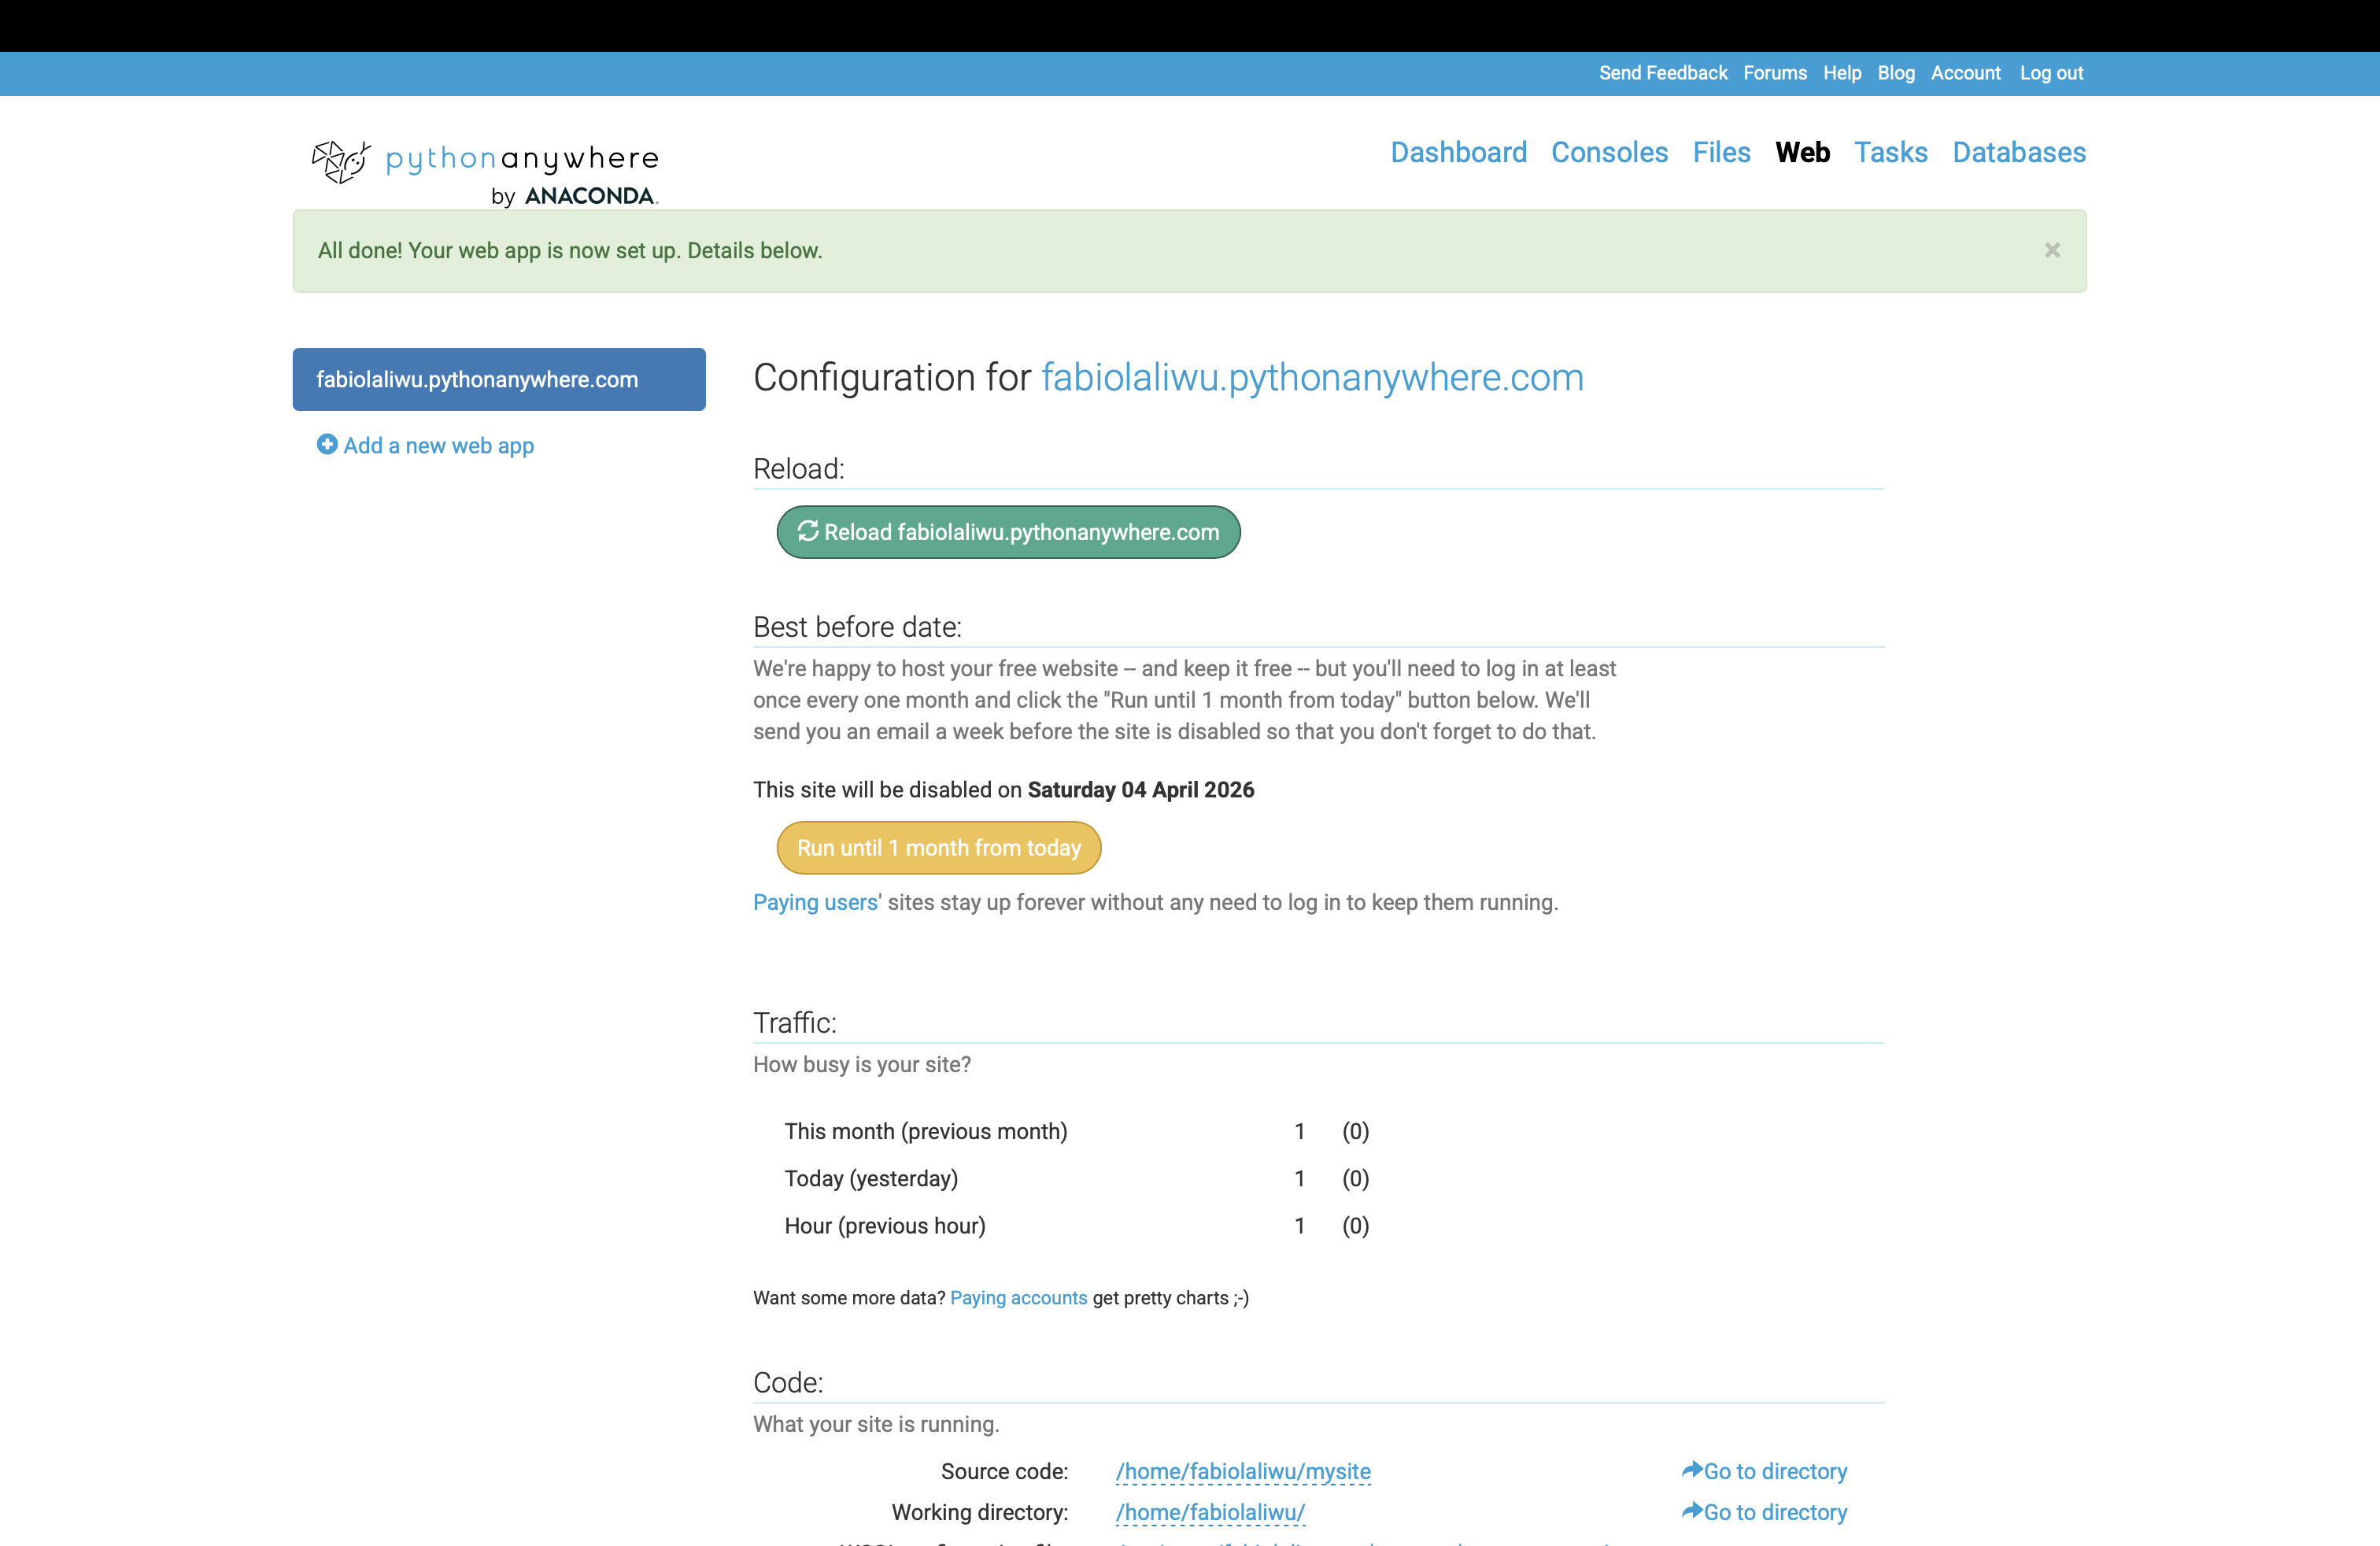
After creating your account:
- Click Web
- Click Add a new web app
Choose:
- Click Next
- Select Flask
- Select your Python version
If you do not know your Python version, open the terminal and type the following command:
python3 --version
Then click Next, and it will create a default Flask file for you.
Creating SQLite Databases
Now go to Dashboard → Consoles → $Bash
Then run:
sqlite3 mydatabase.db
Inside SQLite, you can create tables:
DROP TABLE IF EXISTS member;

CREATE TABLE member (
    member_id         INTEGER PRIMARY KEY,
    member_last_name  VARCHAR(50) NOT NULL,
    member_first_name VARCHAR(50) NOT NULL,
    member_gender     CHAR(1) CHECK (member_gender IN ('M', 'F')),
    member_handicap   INTEGER,
    member_coach_id   INTEGER,
    FOREIGN KEY (member_coach_id) REFERENCES member (member_id)
);
Then, add values to the table
INSERT INTO member (
    member_id,
    member_last_name,
    member_first_name,
    member_gender,
    member_handicap,
    member_coach_id
)
VALUES
    (118, 'McKenzie', 'Melissa', 'F', 30, 153),
    (138, 'Stone', 'Michael', 'M', 30, NULL),
    (153, 'Nolan', 'Brenda', 'F', 11, NULL),
    (176, 'Branch', 'Helen', 'F', NULL, NULL),
    (178, 'Beck', 'Sarah', 'F', NULL, NULL),
    (228, 'Burton', 'Sandra', 'F', 26, 153),
    (235, 'Cooper', 'William', 'M', 14, 153),
    (239, 'Spence', 'Thomas', 'M', 10, NULL),
    (258, 'Olson', 'Barbara', 'F', 16, NULL),
    (286, 'Pollard', 'Robert', 'M', 19, 235),
    (290, 'Sexton', 'Thomas', 'M', 26, 235),
    (323, 'Wilcox', 'Daniel', 'M', 3, NULL),
    (331, 'Schmidt', 'Thomas', 'M', 25, 153),
    (332, 'Bridges', 'Deborah', 'F', 12, 235),
    (339, 'Young', 'Betty', 'F', 21, NULL),
    (414, 'Gilmore', 'Jane', 'F', 5, 153),
    (415, 'Taylor', 'William', 'M', 7, 235),
    (461, 'Reed', 'Robert', 'M', 3, 235),
    (469, 'Willis', 'Carolyn', 'F', 29, NULL),
    (487, 'Kent', 'Susan', 'F', NULL, NULL);
To exit SQLite, type:
.exit
Connect SQLite to Flask
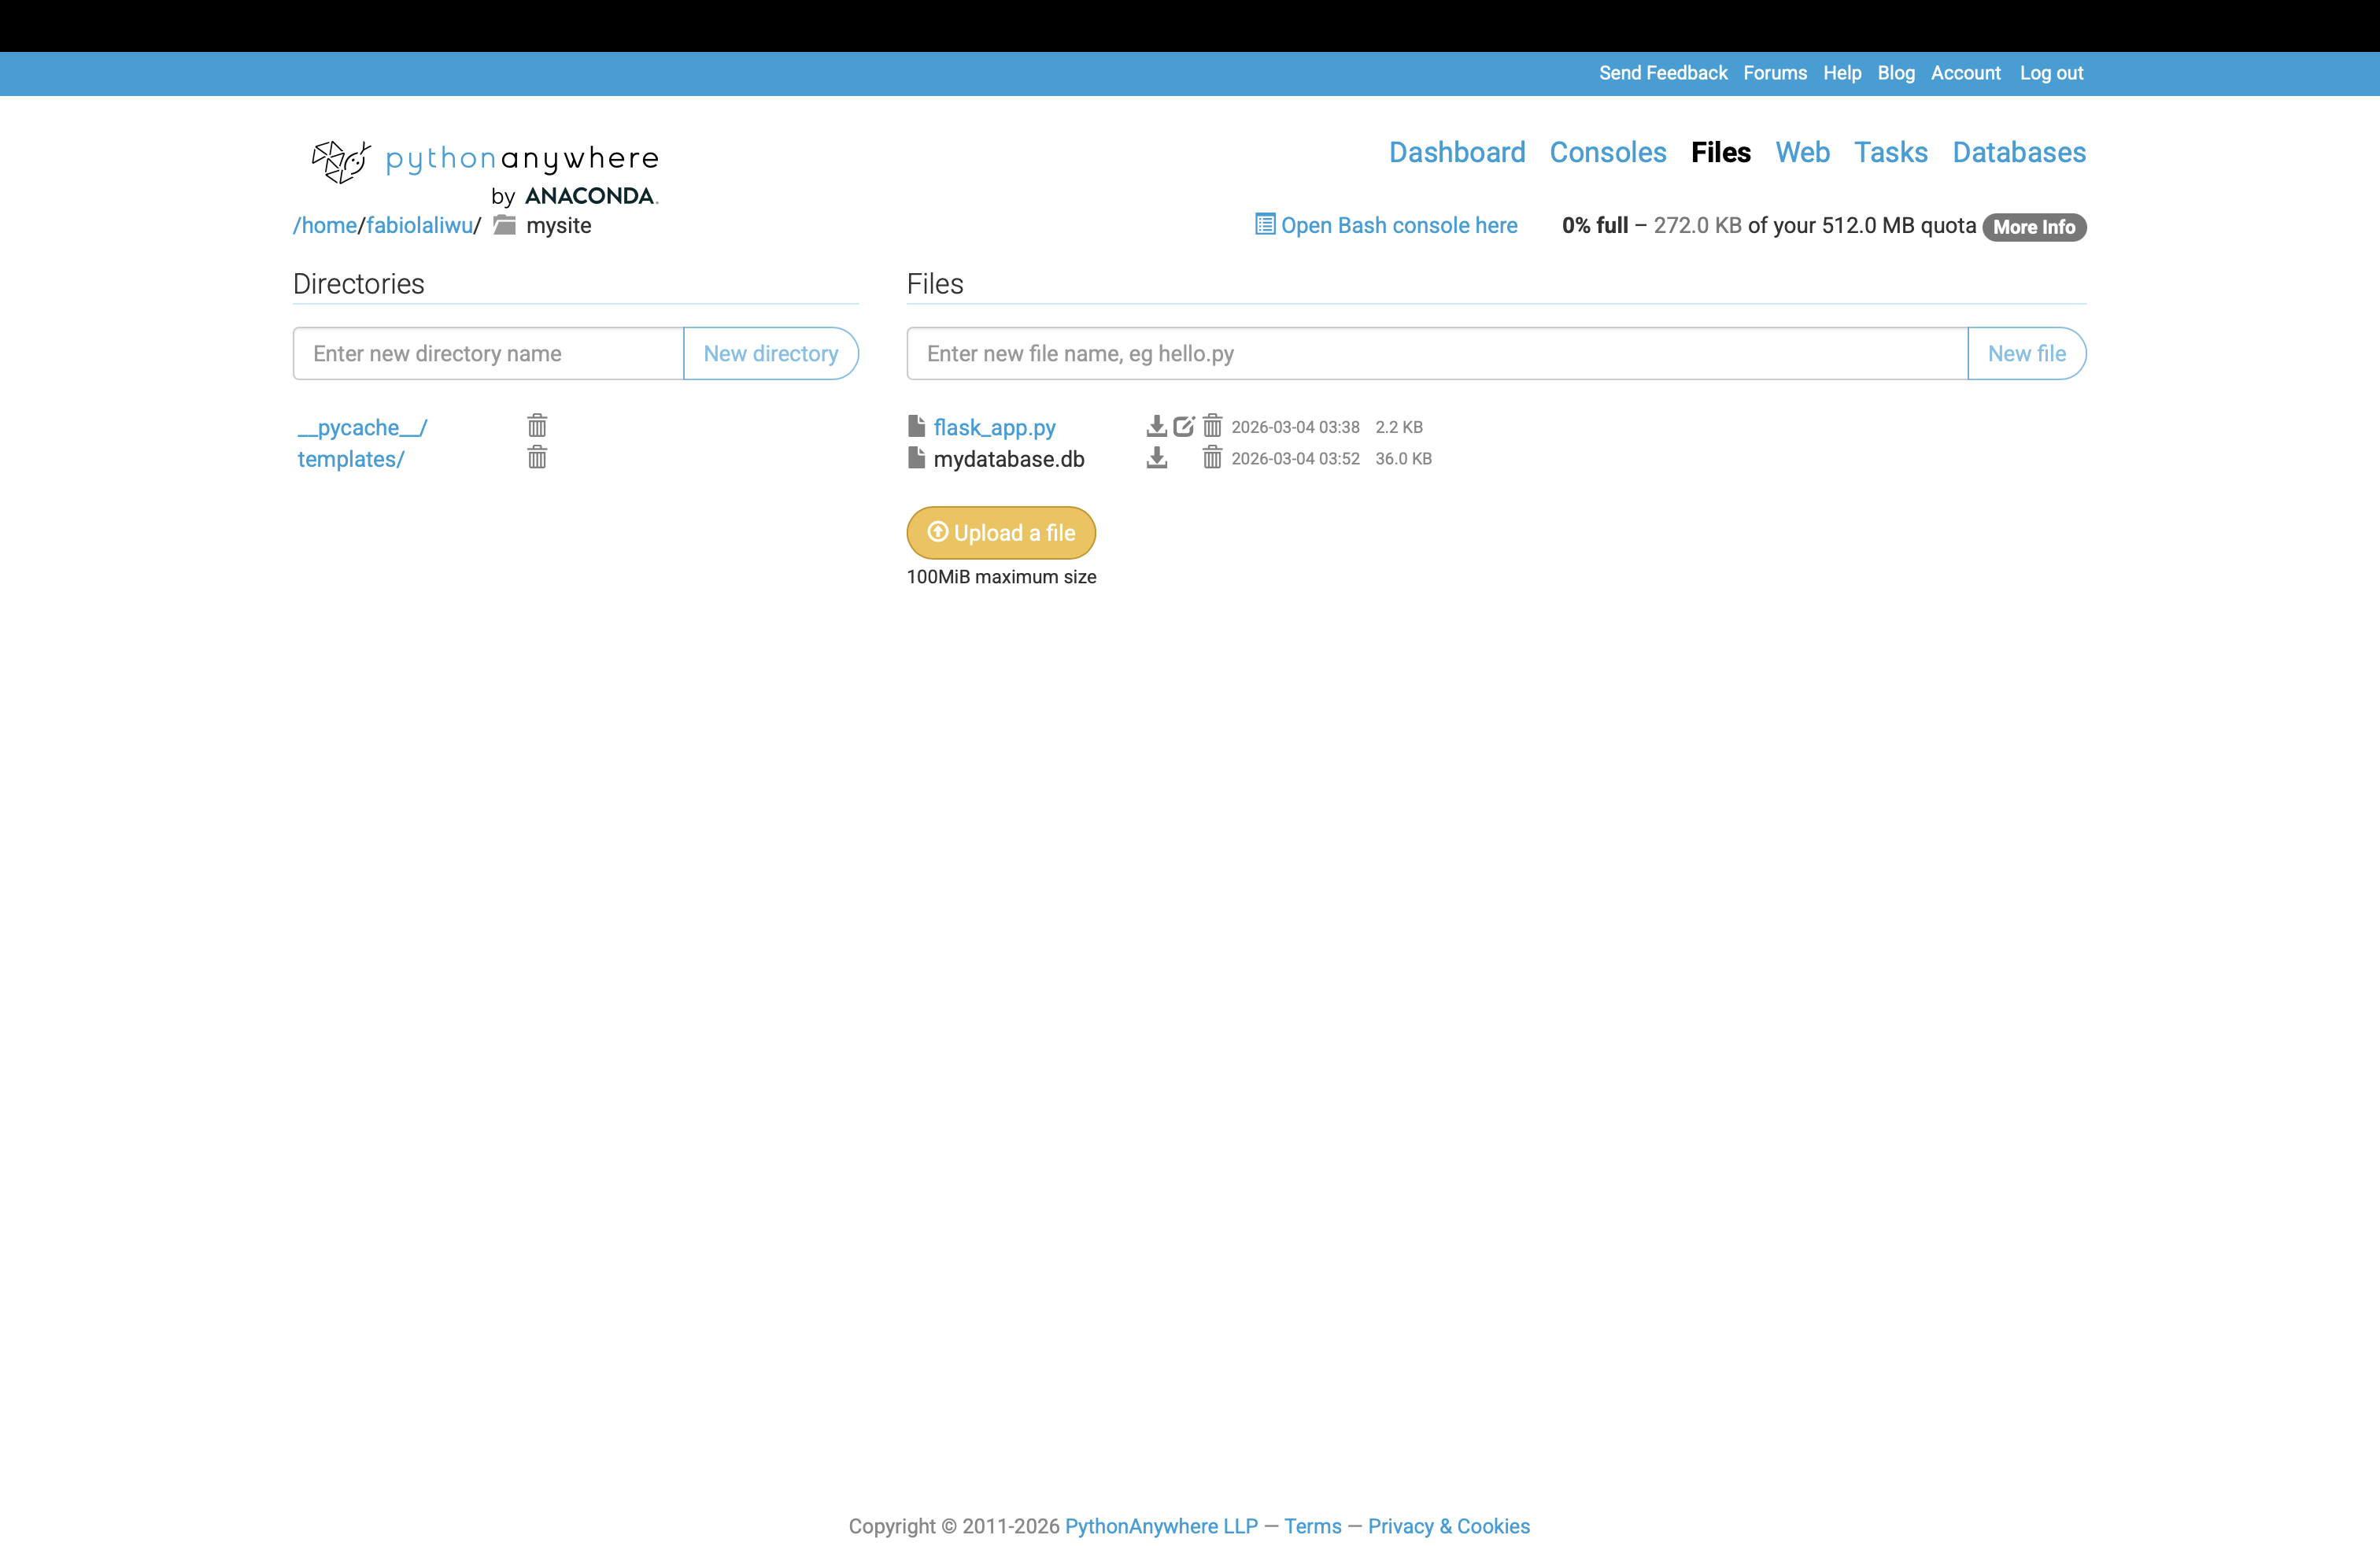
Go to Files → mysite → flask_app.py
Add the following code to connect SQLite to Flask:
import os

BASE_DIR = os.path.dirname(os.path.abspath(__file__))
db_path = os.path.join(BASE_DIR, 'mydatabase.db')
This is the same process you used in VS Code, but now the app is hosted online.
To understand how the website works, copy the same code from Lab 7 into PythonAnywhere.
You need to:
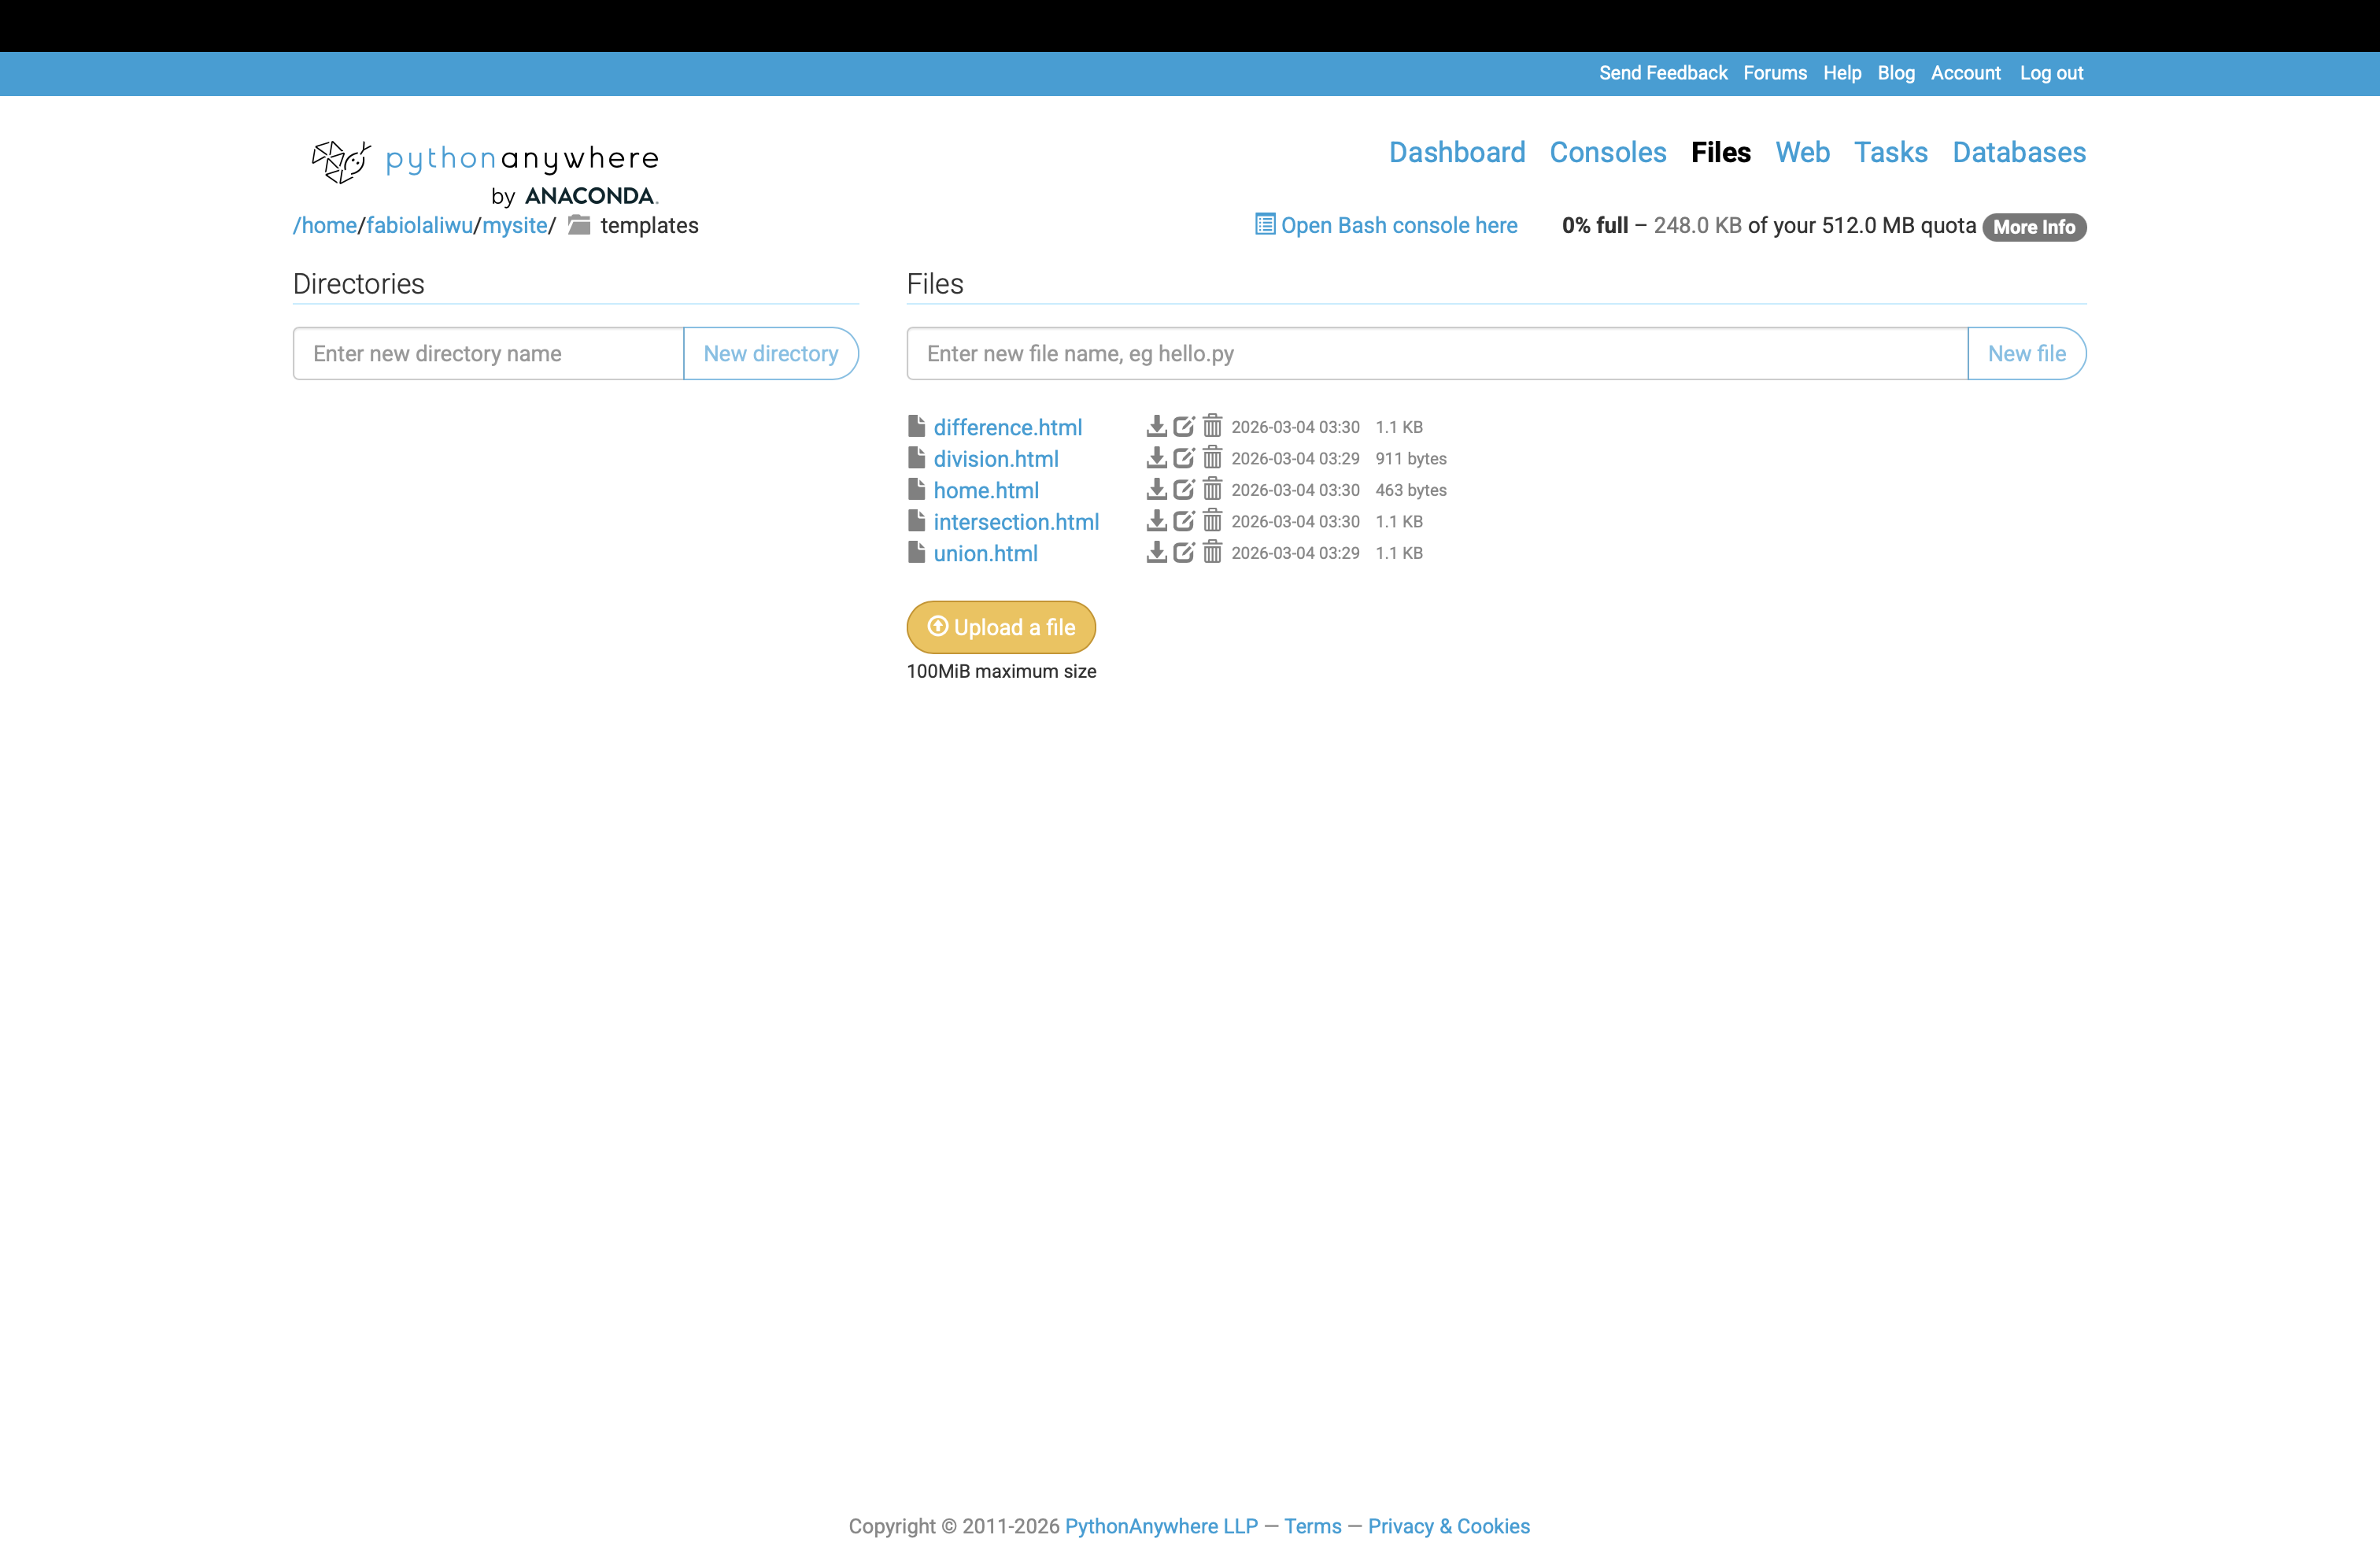
- Create a new directory called templates
- Upload your HTML files
- Upload the database from Lab 7 (so you do not have to recreate the tables and values)
- Modify flask_app.py using the version from Lab 7
Change the Website Configuration
Right now, you will see the default Flask page because the app is still pointing to the default configuration.

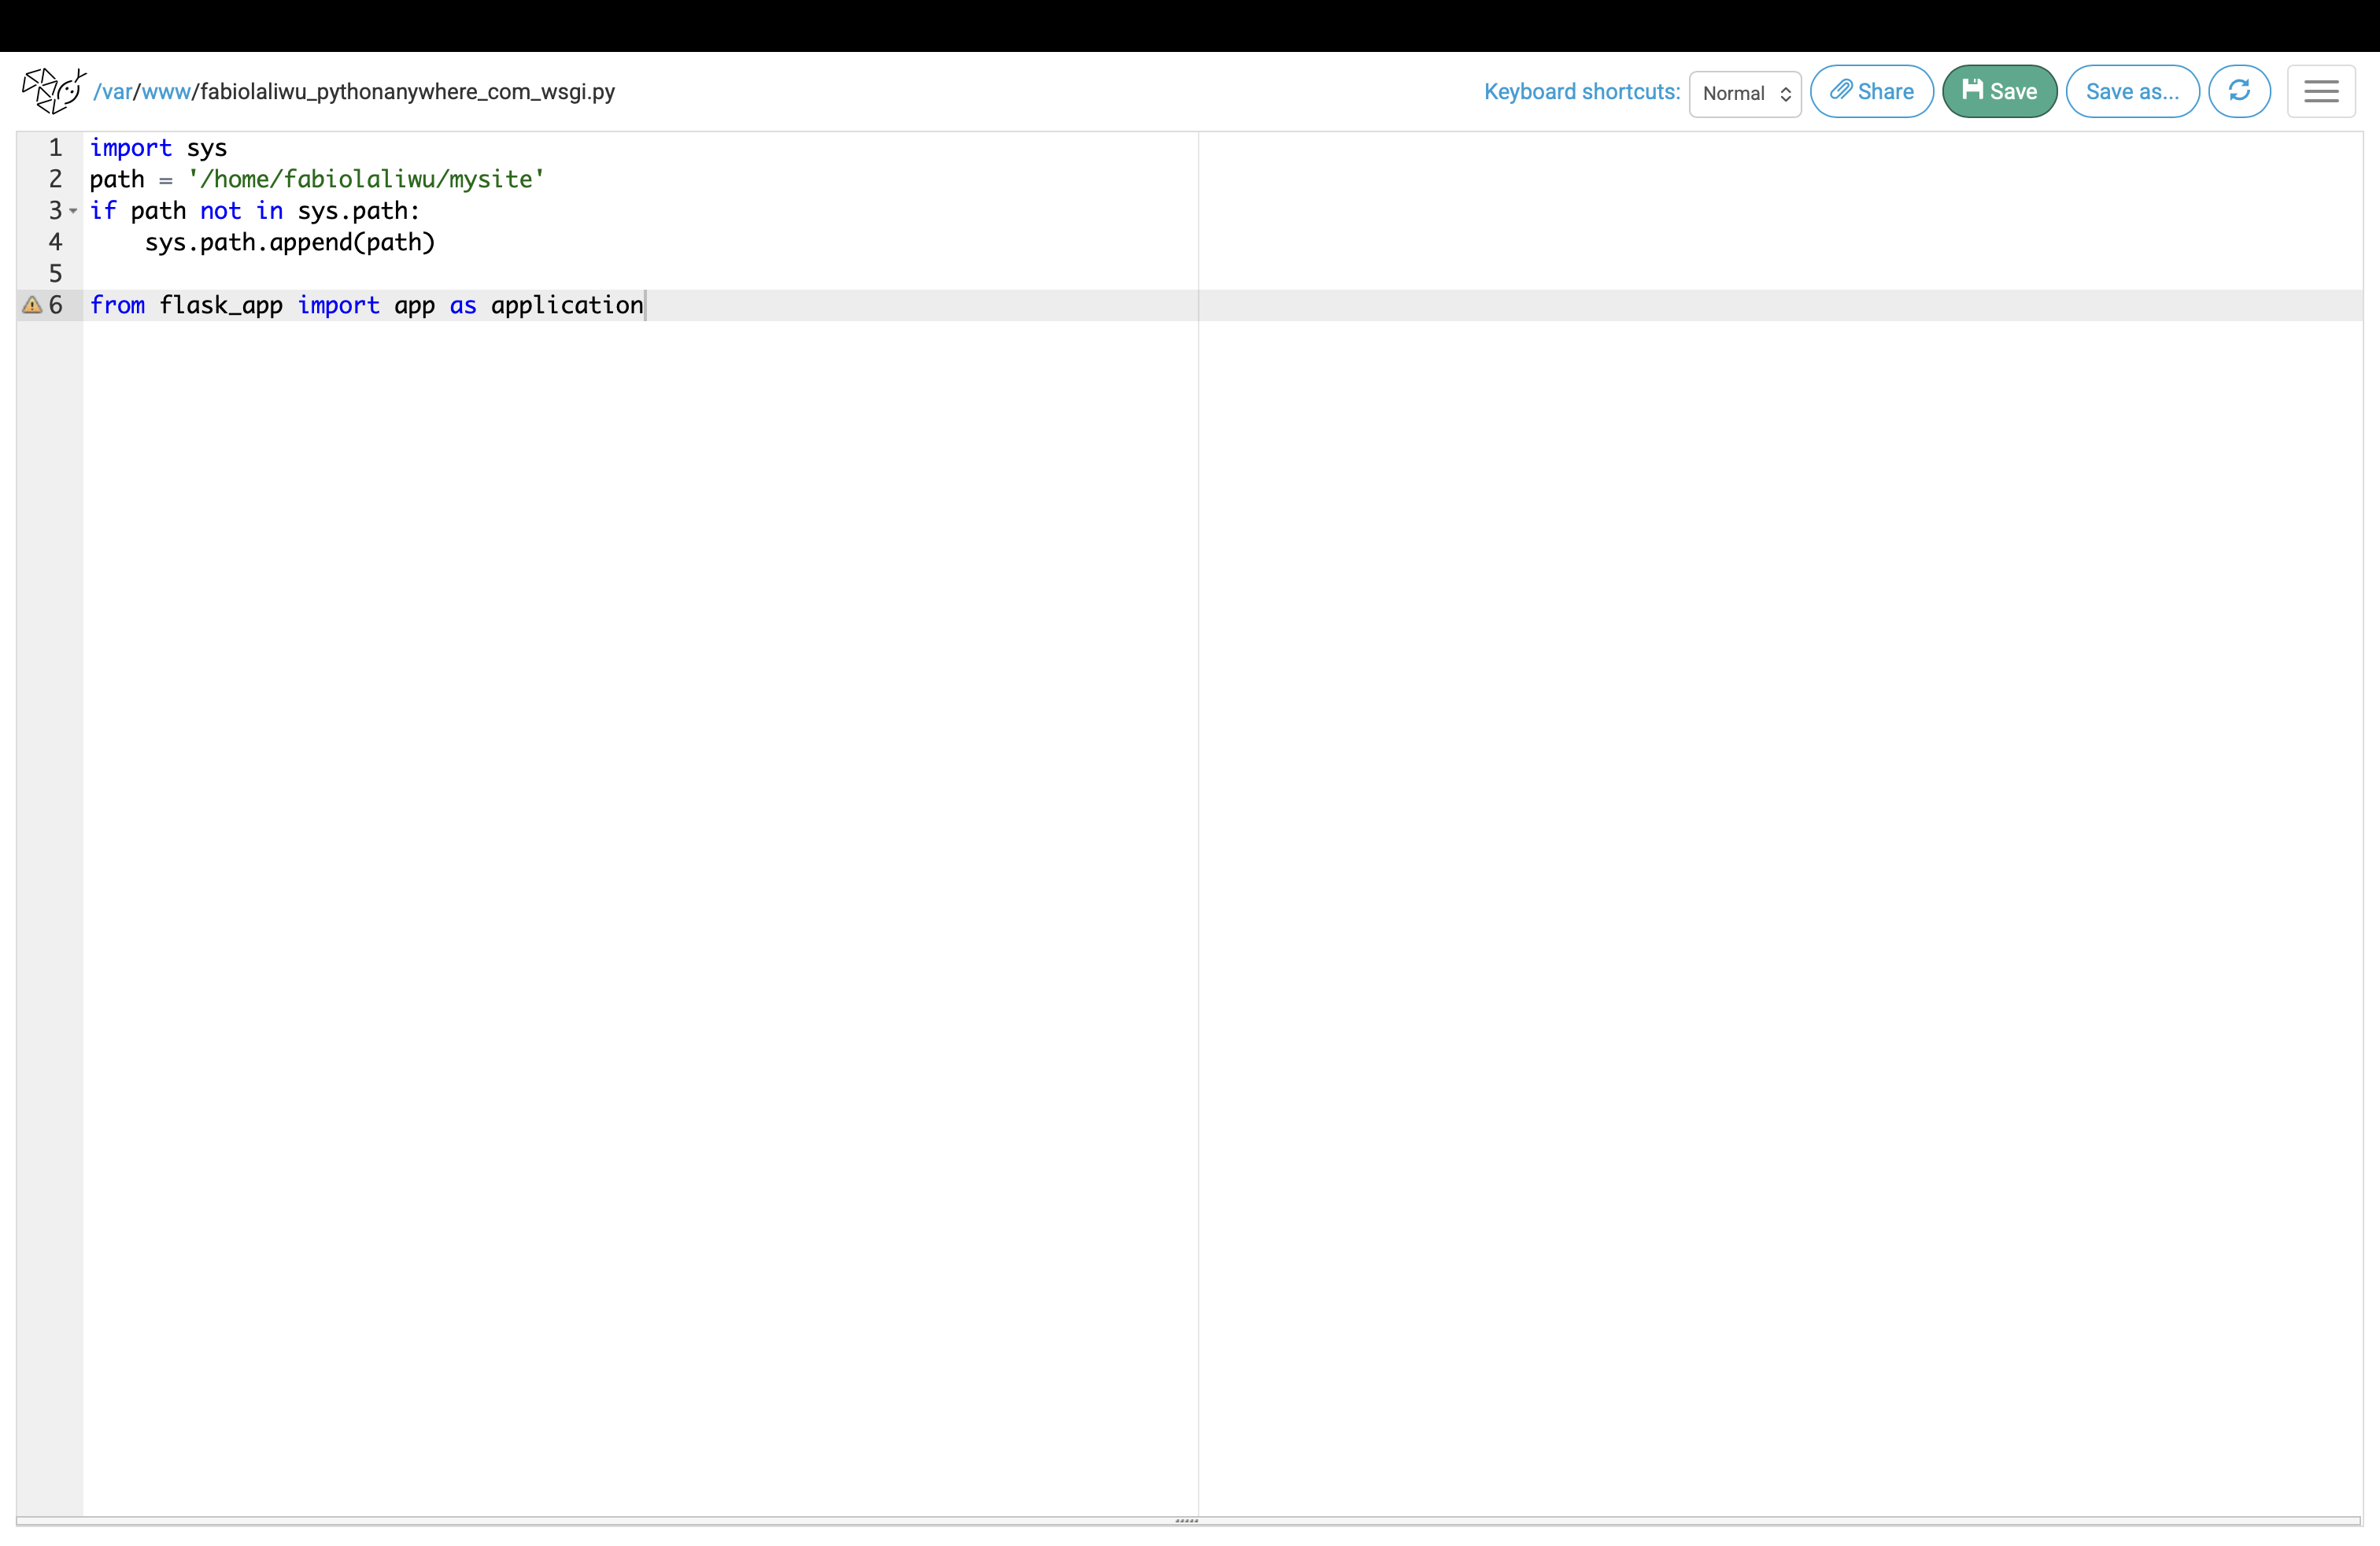
To change it, go to Web tab → Click your web app → WSGI configuration file
Replace the default code with the following
import sys
path = '/home/[your_username]/mysite'
if path not in sys.path:
    sys.path.append(path)

from flask_app import app as application
It should look like the following image
Click Save, reload your web app, and visit your website. It should now look exactly like your Lab 7 project.
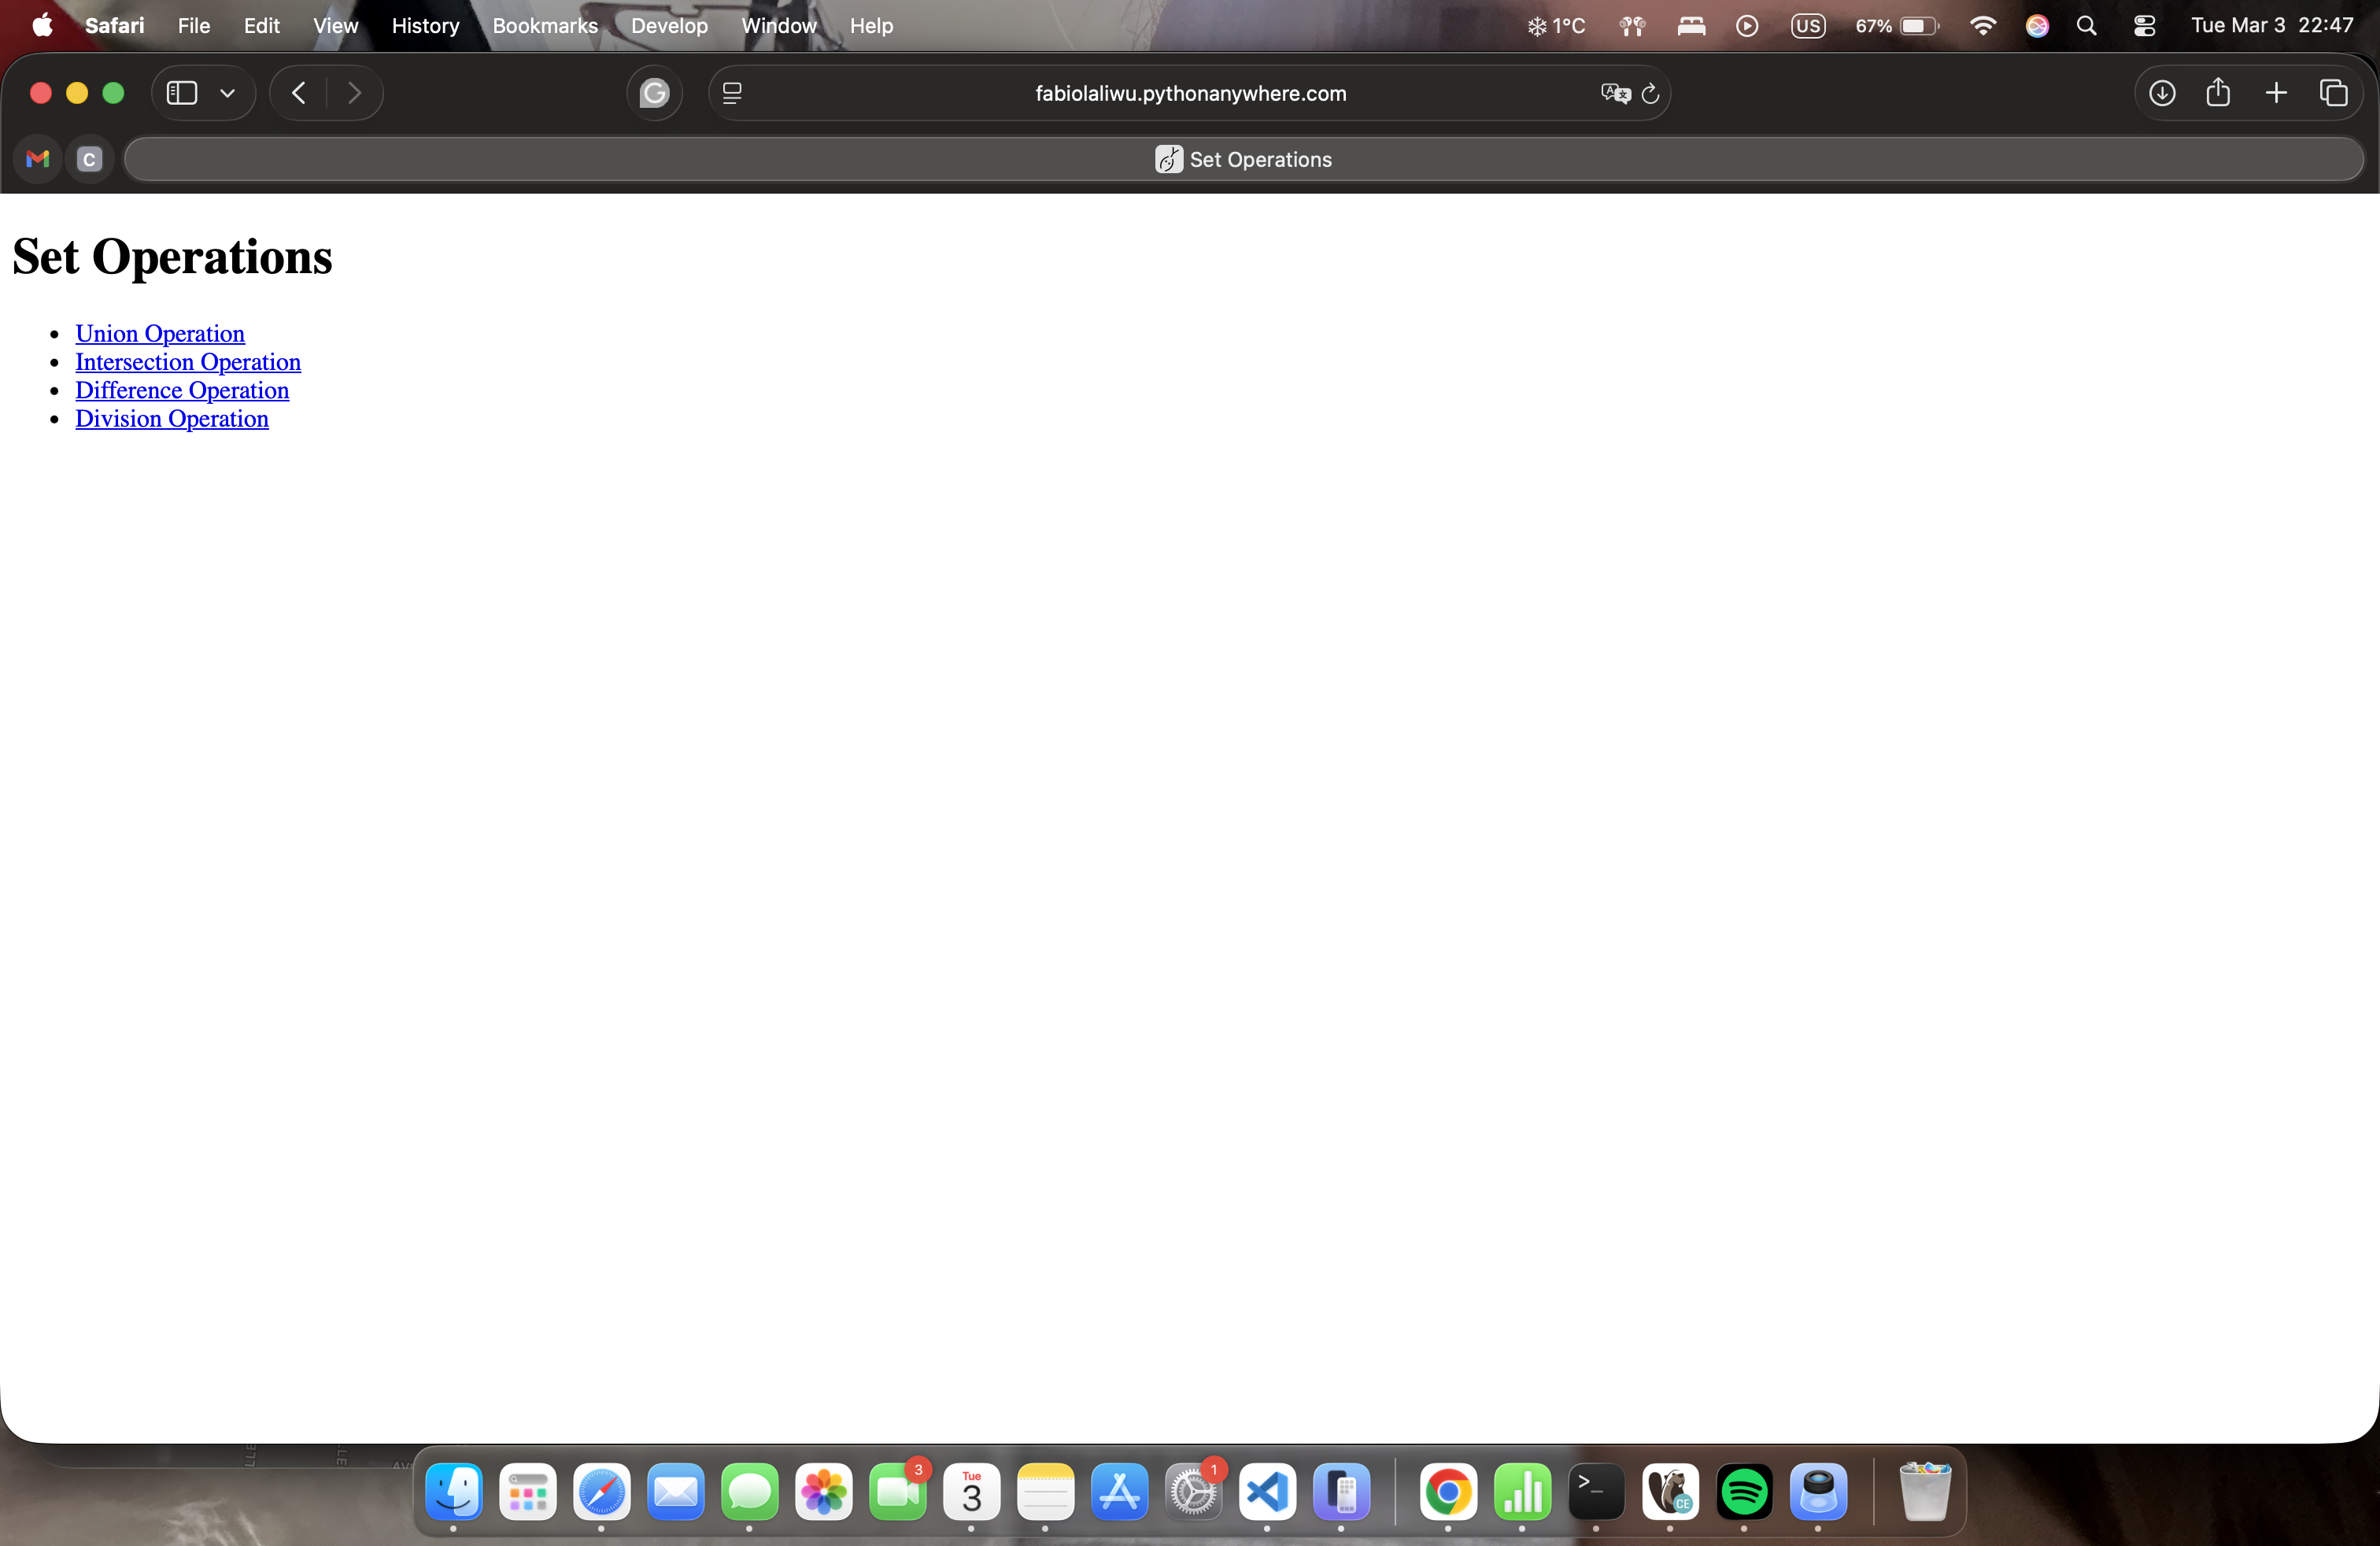
*** Check each operation to make sure the data is displaying correctly. If not, your database may be uploaded to the wrong folder. It must be inside the mysite folder.