LAB 10
Today’s lab we will learn about Flask WTF Forms.
Flask-WTF is a Flask extension that integrates the WTForms library, making form creation and validation easier in Flask applications.
Let’s create a HTML file called form.html in the templates folder, and add the following code to it.
<!DOCTYPE html>
<html>
<head>
<title>Lab10</title>
</head>
<body>
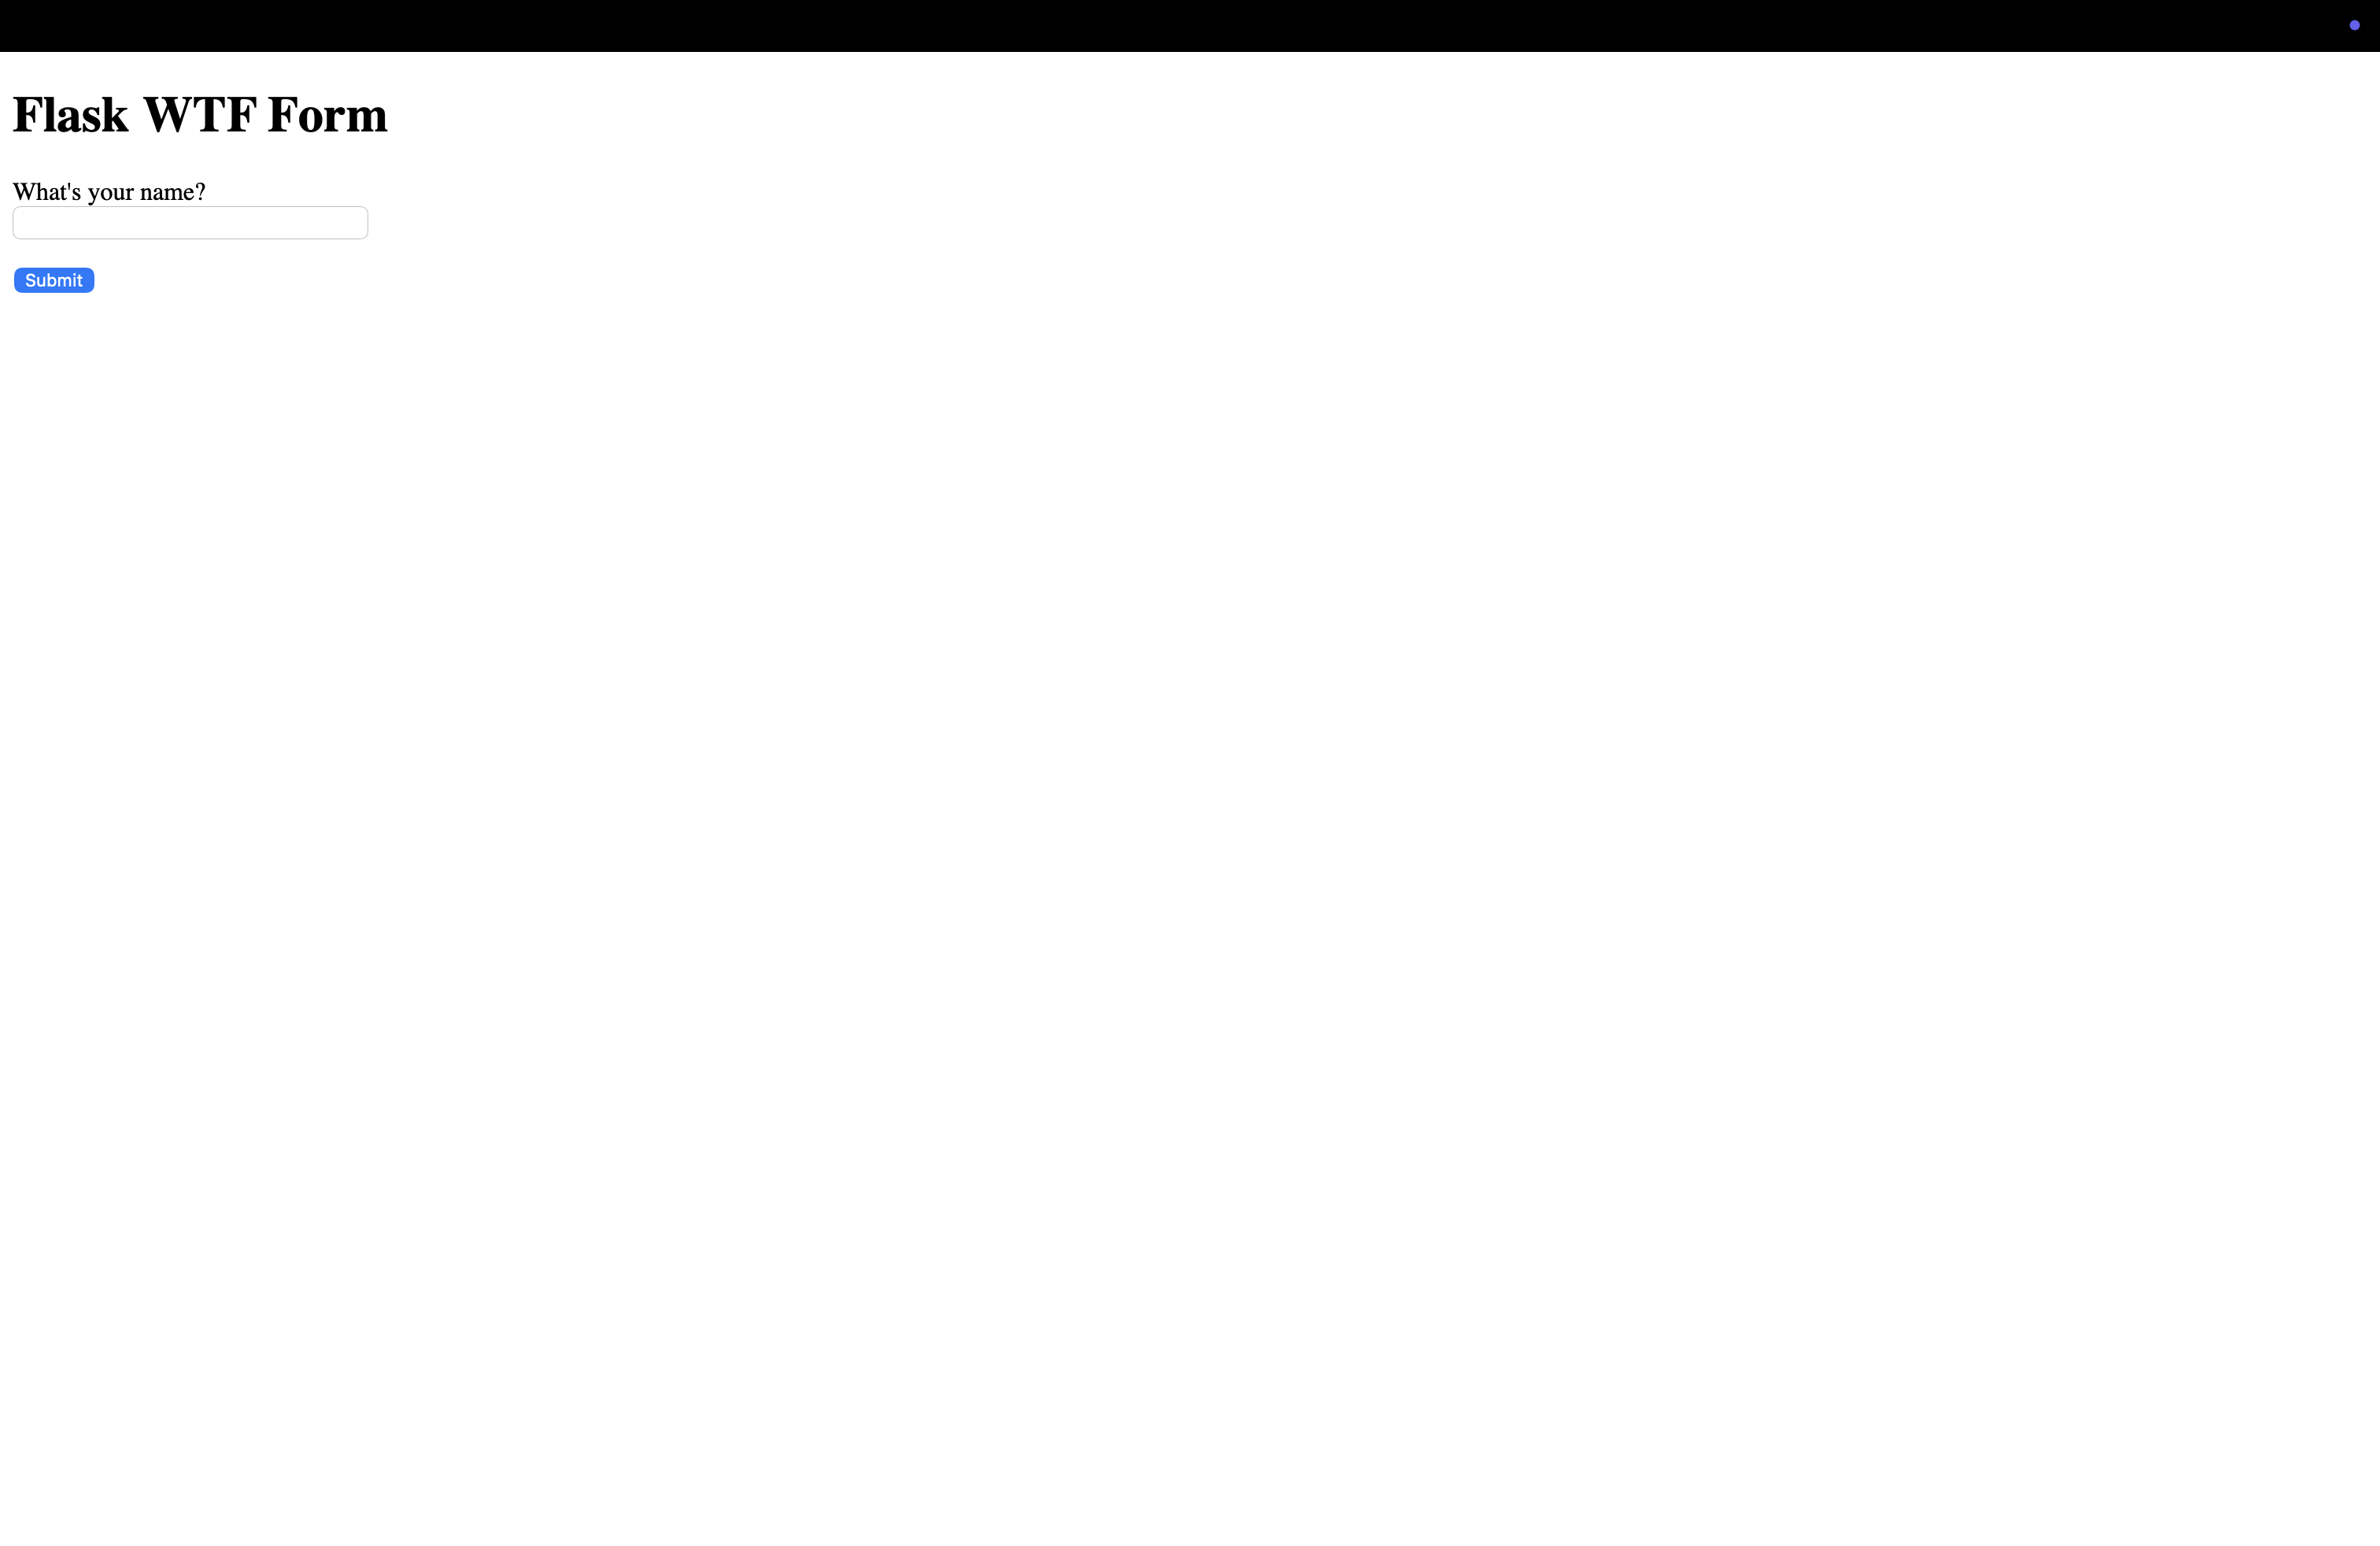
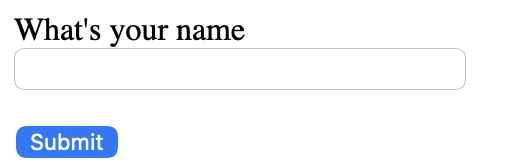
<h1>Flask WTF Form</h1>
<form method="POST">
{{ form.hidden_tag() }}
<p>
{{ form.name.label }} <br>
{{ form.name(size=50) }}
</p>
<p>
{{ form.submit() }}
</p>
</form>
</body>
</html>
This is slightly different from previous labs because we are using both GET and POST methods. These are HTTP methods, which are ways the browser communicates with your Flask application. GET is used for loading pages and requesting data, and POST is used to send data to the server, such as when submitting a form. In this case, we are using POST to send the name entered by the user to the server.
Now, let’s modify the python file flask_app.py that we have in the mysite folder by adding the following libraries to it:
from flask import Flask, render_template, redirect, url_for
from flask_wtf import FlaskForm
from wtforms import StringField, SubmitField
from wtforms.validators import DataRequired
We need these libraries to create the web app, load HTML files, switch pages, build URLs, create forms, and data validation.
We also need a secret key to protect the form:
app.config['SECRET_KEY'] = 'Secret Key'
In order to create this form to ask for the name, we need the following:
class NameForm(FlaskForm):
    # to input name and validates  it
    name = StringField("What's your name?", validators=[DataRequired()])
    submit = SubmitField("Submit")
We want to validate the data. If the data is valid, then it sends it to the success page. Otherwise, it returns to the form page.
@app.route("/", methods=["GET", "POST"])
def index():
    form = NameForm()
    if form.validate_on_submit():
        name = form.name.data
        return redirect(url_for("success", name=name))
    return render_template("form.html", form=form)
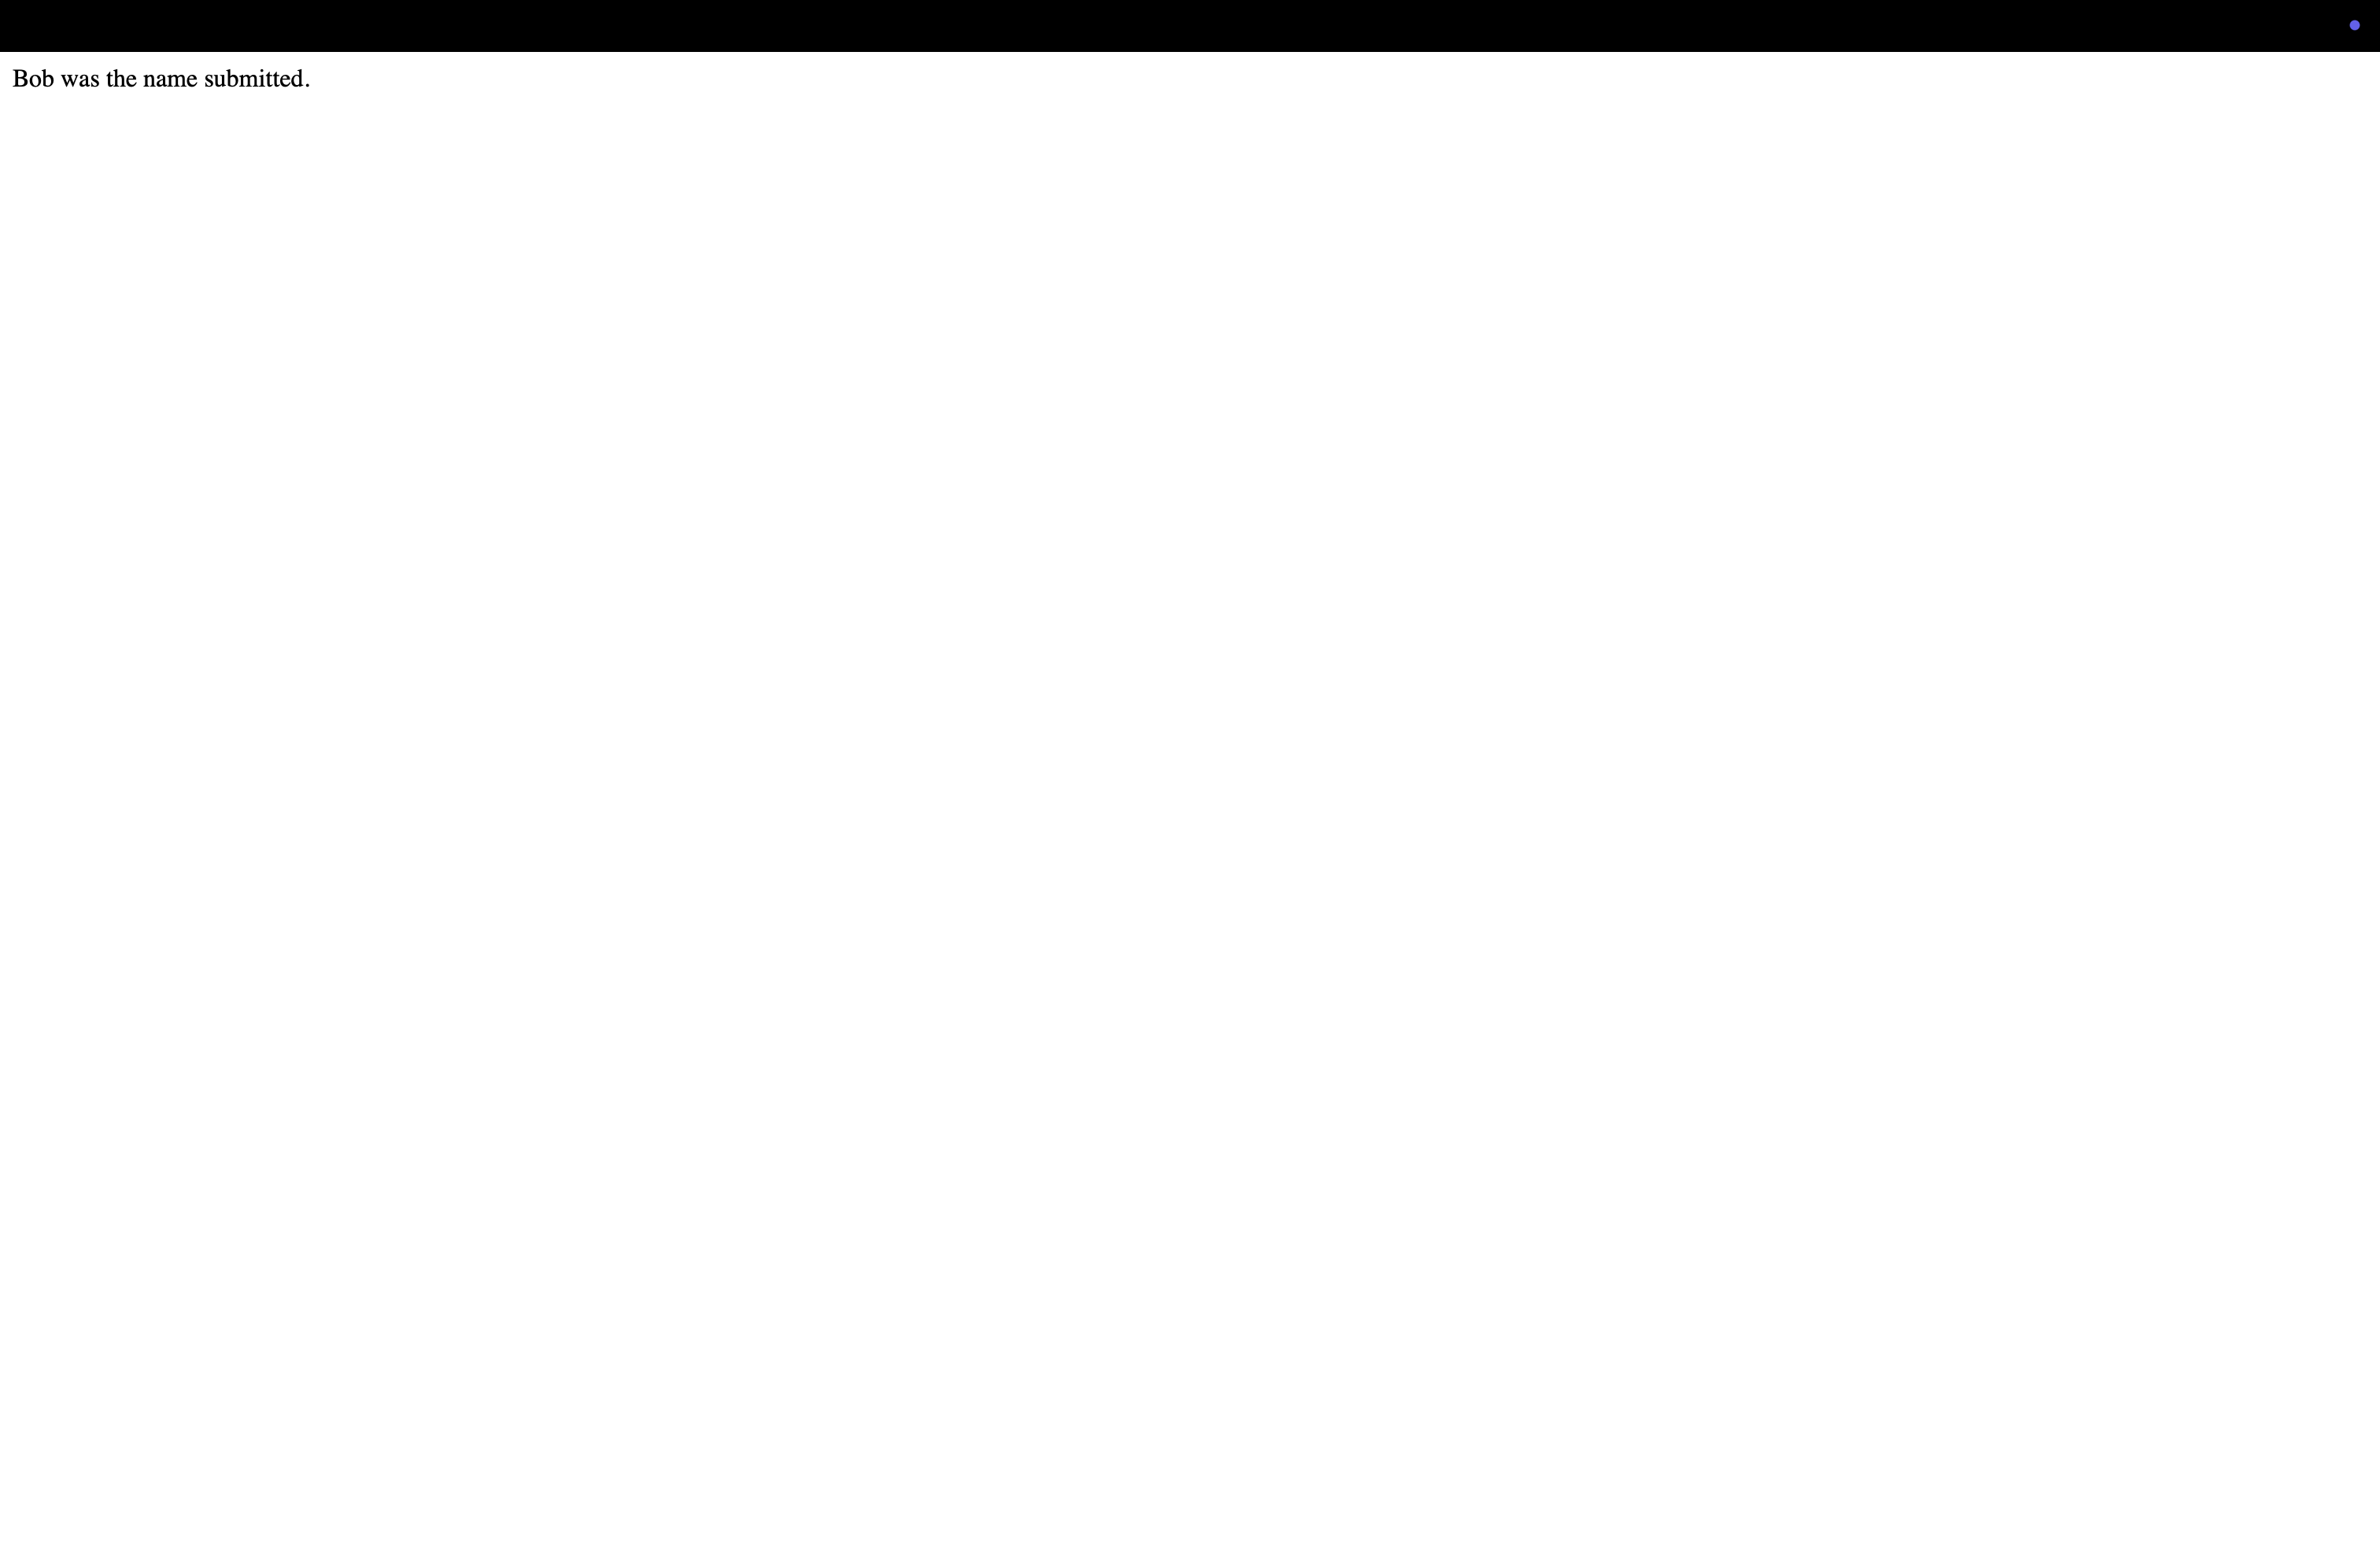
This is the success page
@app.route("/success/<name>")
def success(name):
    return f"{name} was the name submitted."
This is how your flask_app.py file should look like:
from flask import Flask, render_template, redirect, url_for
from flask_wtf import FlaskForm
from wtforms import StringField, SubmitField
from wtforms.validators import DataRequired
import sqlite3
import os

app = Flask(__name__)
app.config['SECRET_KEY'] = 'Secret Key'

BASE_DIR = os.path.dirname(os.path.abspath(__file__))
DB_PATH = os.path.join(BASE_DIR, "mydatabase.db")

class NameForm(FlaskForm):
    name = StringField("What's your name?", validators=[DataRequired()])
    submit = SubmitField("Submit")

@app.route("/", methods=["GET", "POST"])
def index():
    form = NameForm()
    if form.validate_on_submit():
        name = form.name.data
        return redirect(url_for("success", name=name))
    return render_template("form.html", form=form)


@app.route("/success/<name>")
def success(name):
    return f"{name} was the name submitted."


if __name__ == "__main__":
    app.run(debug=True)
Let’s go to Dashboard -> Consoles -> Bash. Then, type the following line of code and run it to install flask-wtf library to be able to create the forms.
pip3 install flask-wtf
Open you Web app link and you should see the following: